Quickstart Demo 🧪#
Learn Transmogrifier with a demo and quickstart your first steps using the addon.
"The best way to teach kayaking is not by lecturing on the beach. Instead, toss a bucket of tennis balls onto the lake and say, 'Go get 'em!'"
1. Download the Demo Files#
Download the demo files, then unzip the folder. Inside you will find 3D models as FBX files along with their associated textures.
PolyHaven
PolyHaven is a creative-commons (CC0) library of models, textures and HDRI's. We've curated 5 models with textures from their library for this demo.
2. Add Import#
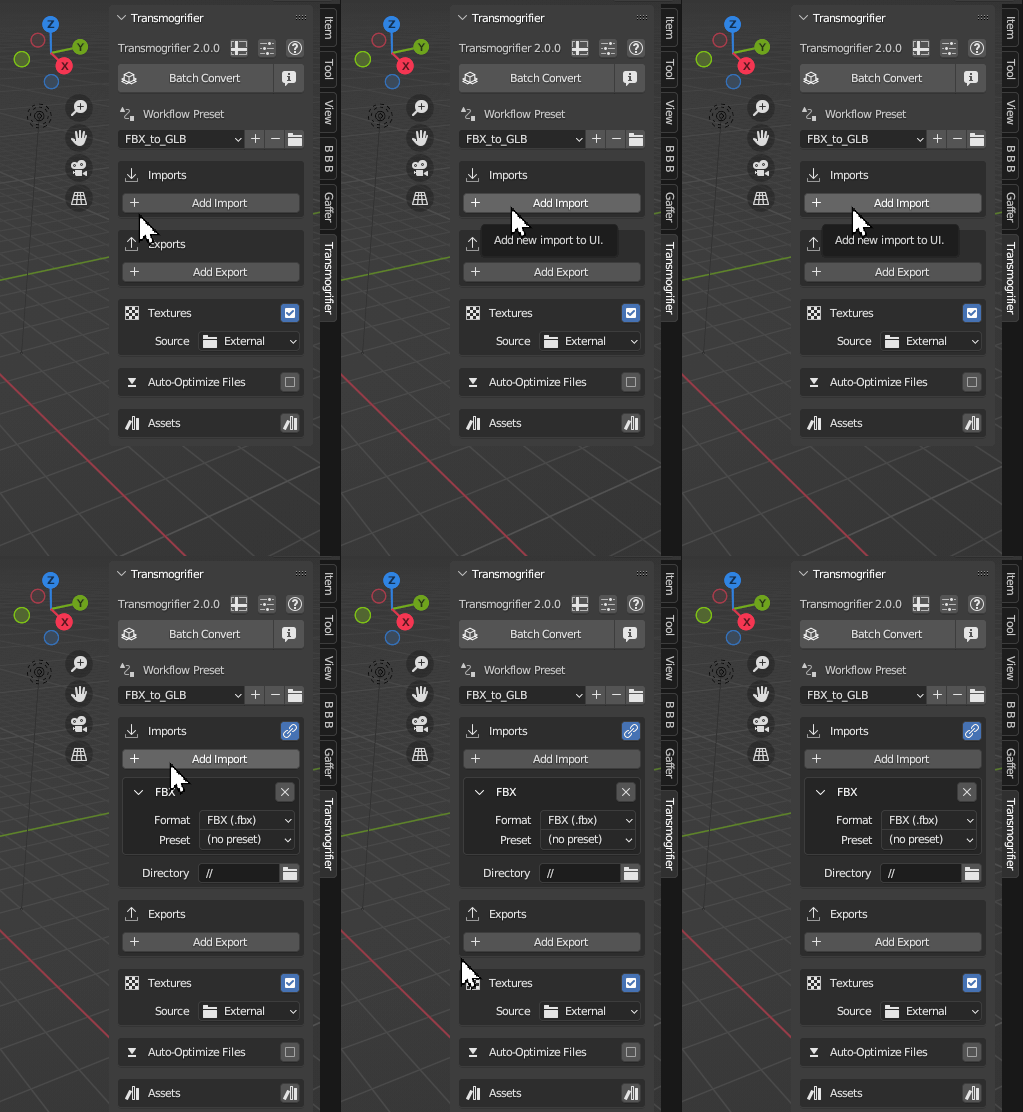
Click + Add Import to add an import file format for Transmogrifier to search for. Leave the format in its default value (FBX).
3. Select Directory#
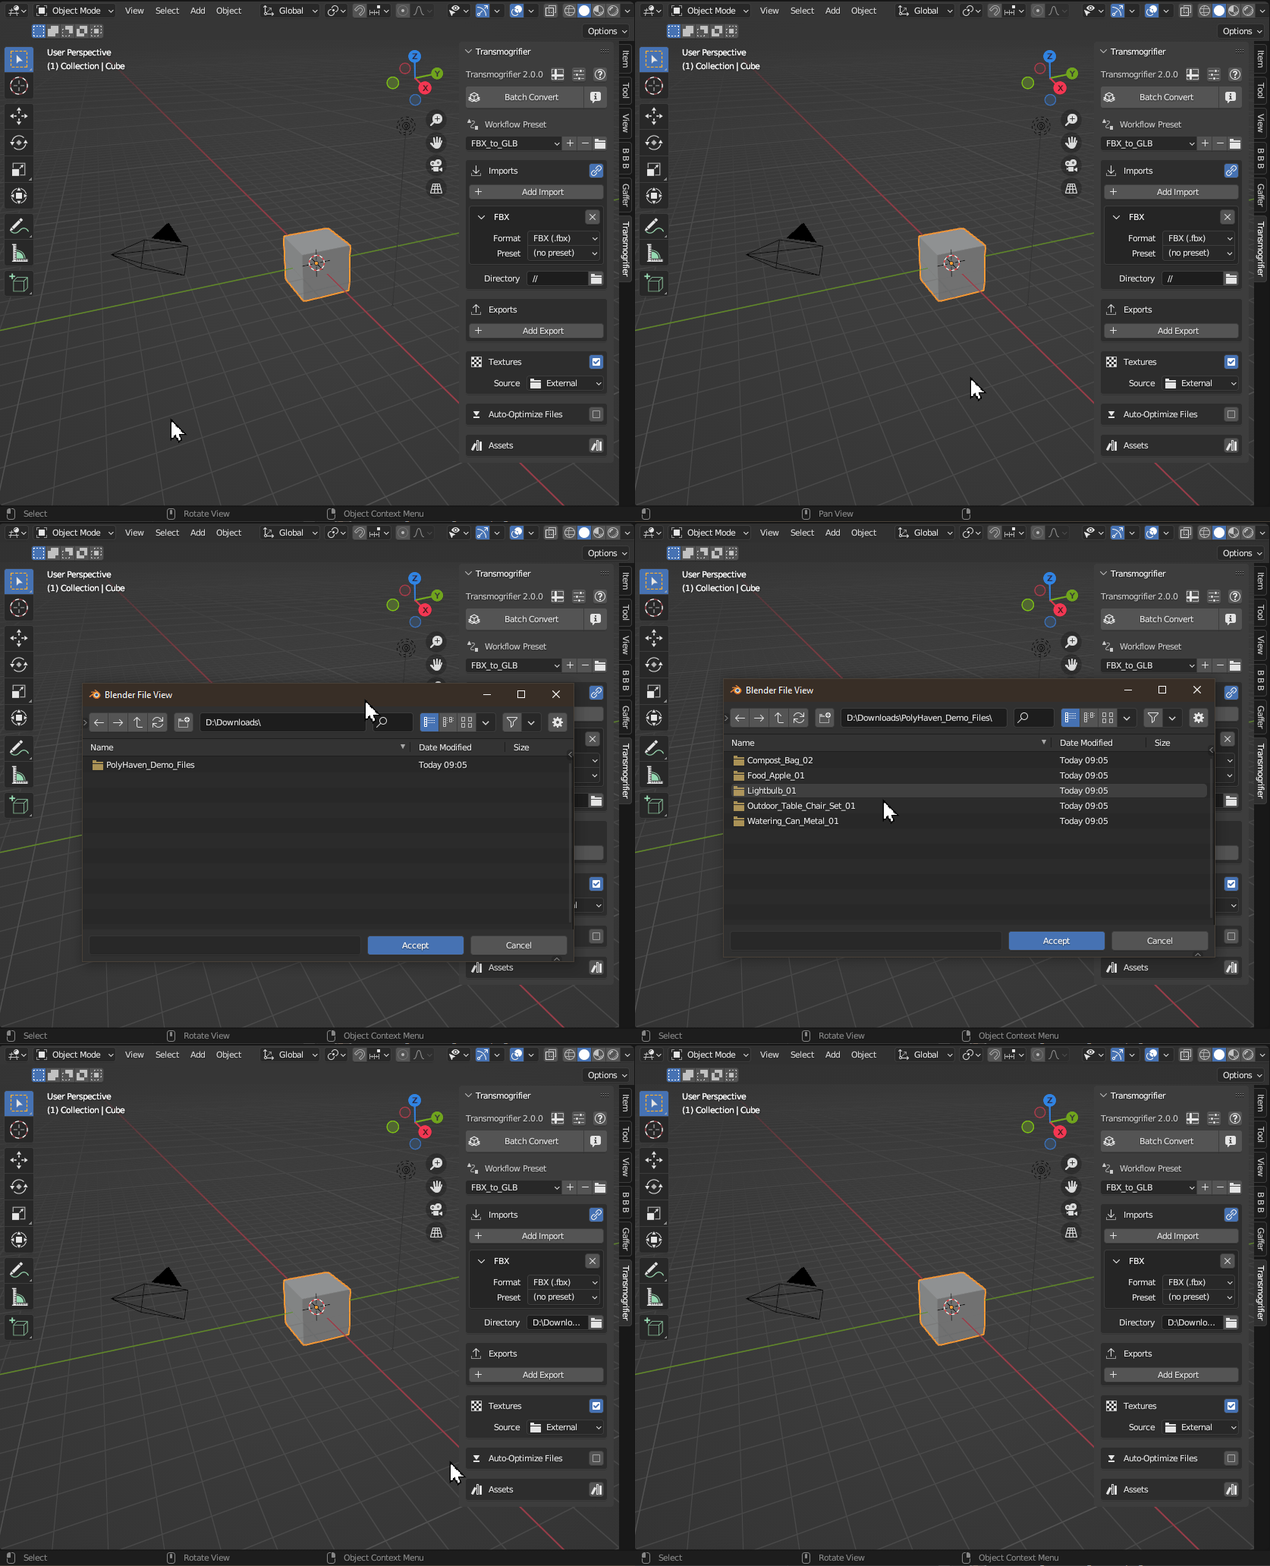
Click on the folder icon at the bottom of the Imports box. In the pop-up file dialog, double-click into the unzipped "PolyHaven_Demo_Files" folder and click Accept.
4. Add Export#
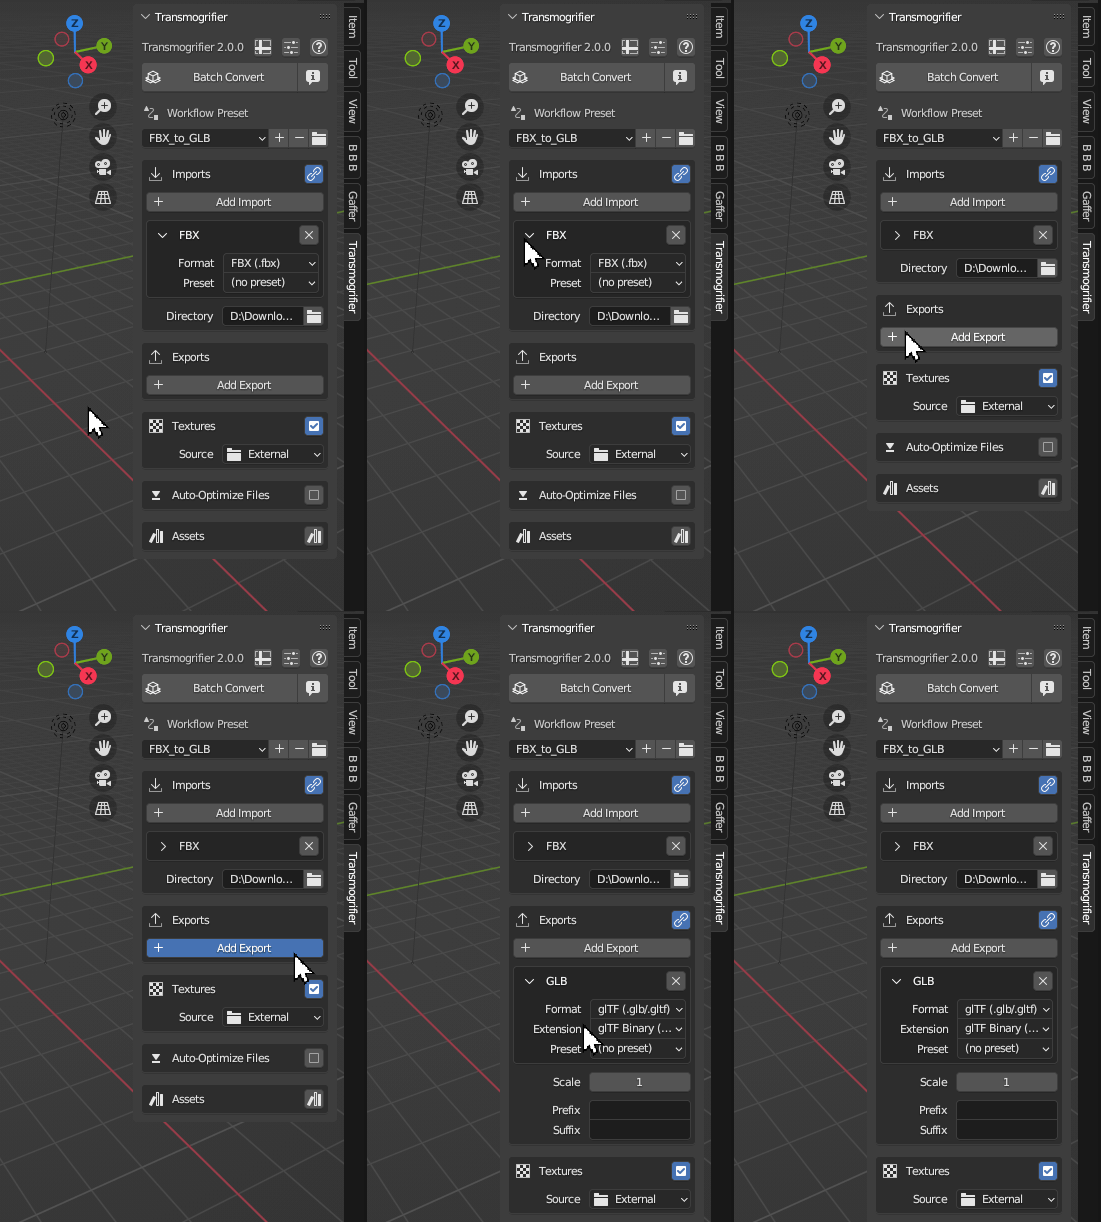
Click + Add Export to add an export file format for Transmogrifier to output for each import file it finds. Leave the format in its default value (GLB).
5. Check the Forecast#
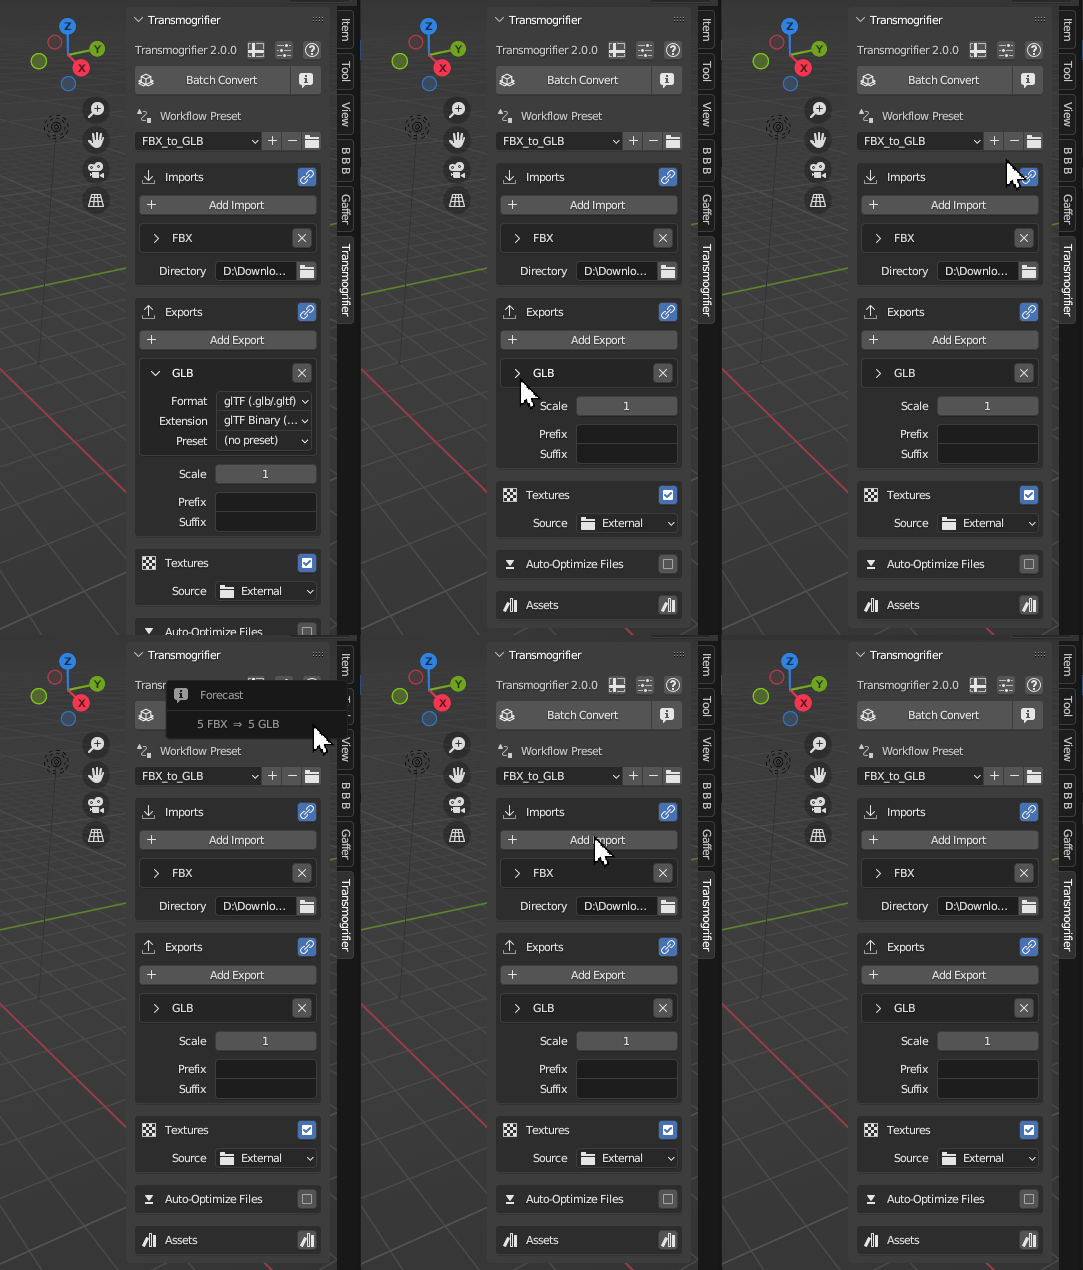
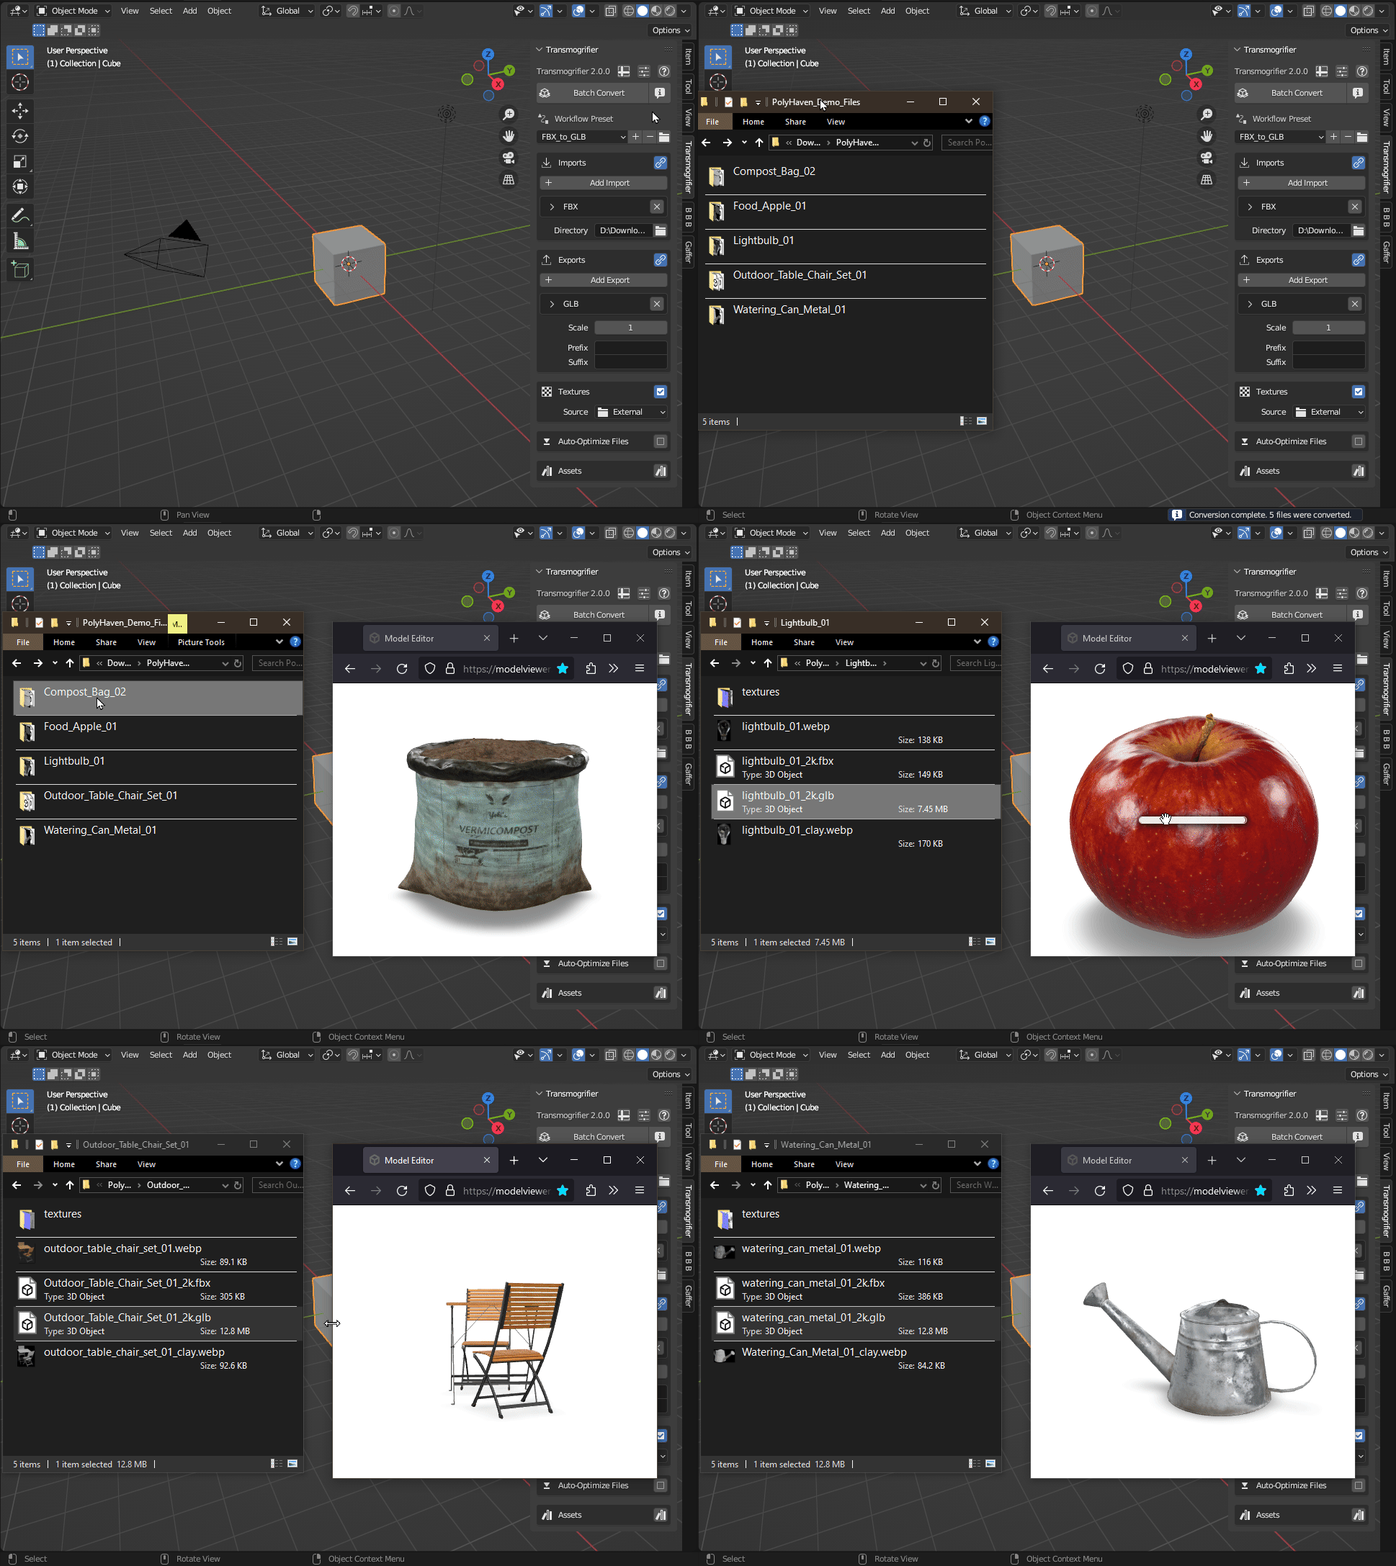
Click the Forecast button to predict the batch conversion. In this case, Transmogrifier should find 5 FBX files in the PolyHaven_Demo_Files folder which will then be converted to 5 GLB files in the next step.
6. Click Batch Convert#
Finally, click Batch Convert and let the process run. When it finishes, you should now be able to find 5 GLB files, one in each model's folder.
Info
After this button is clicked, a second Blender window will pop-up. This window will be greyed-out, and both this and the original Blender window will remain unresponsive until the batch conversion is over. This is normal operation.
Success! You have now performed your first Transmogrification.
